Wearing a bike helmet correctly means it fits snugly, sits level on your head, and the straps are properly adjusted. This ensures the helmet can protect you in case of a crash. Here’s a comprehensive guide to bike helmet fitting and safety.
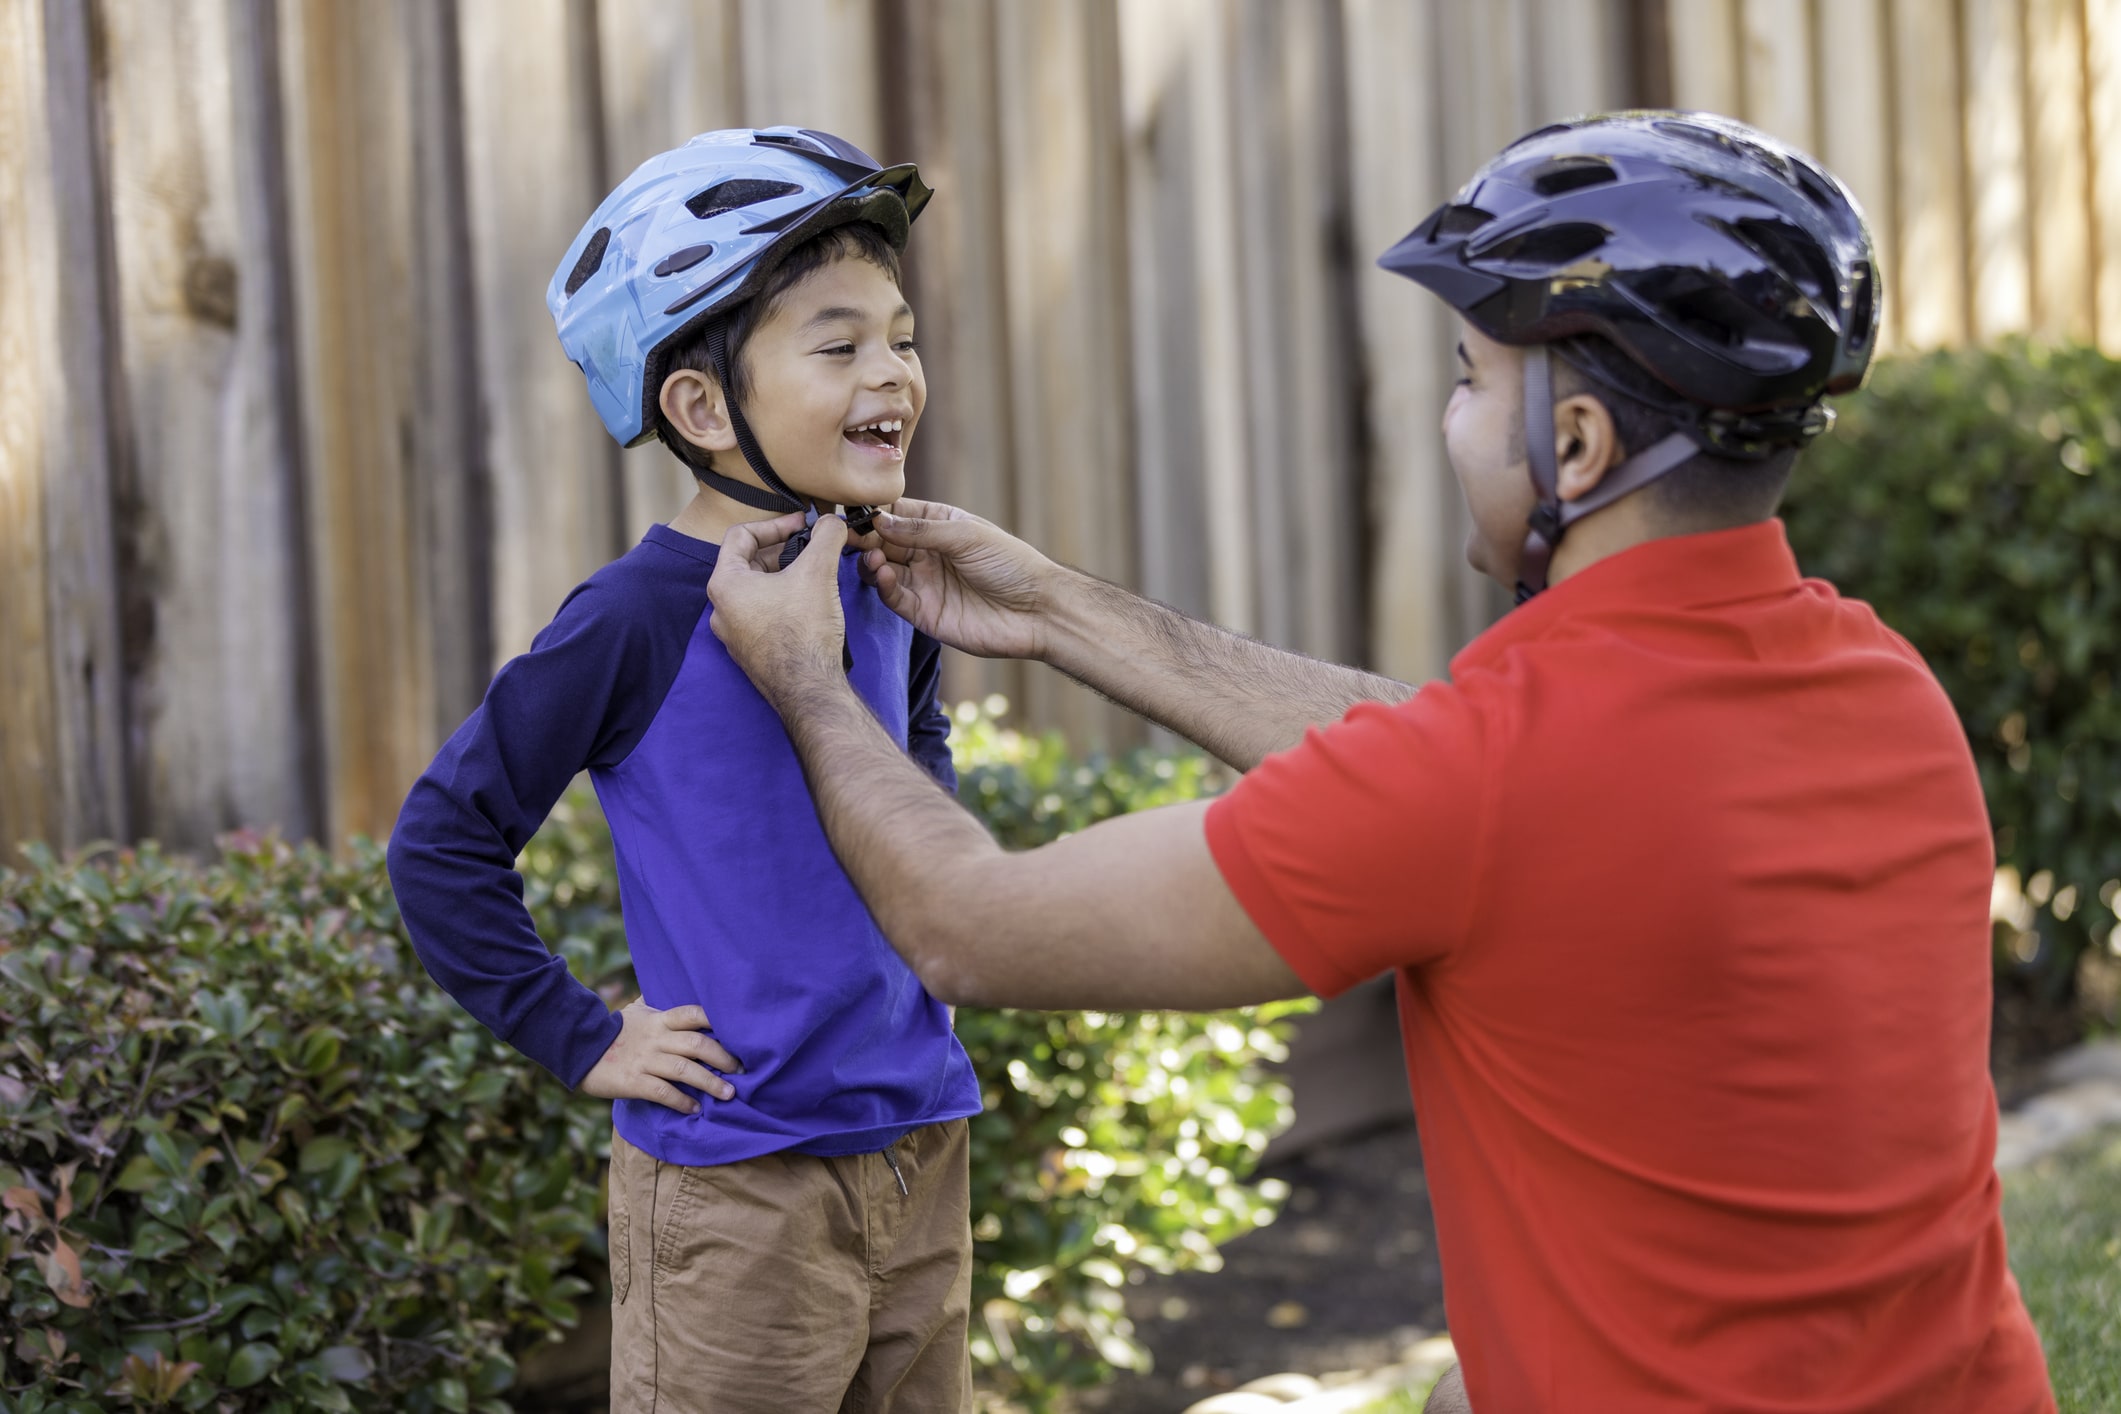
Image Source: uoflhealth.org
The Importance of a Properly Fitted Bike Helmet
A bike helmet only works if it’s worn correctly. A loose or poorly fitted helmet can shift during a crash, leaving your head unprotected. Think of your helmet as your head’s bodyguard – it needs to be in the right position to do its job! Wearing your helmet the right way is vital for bike helmet safety.
Choosing the Right Bike Helmet Size
Before you even think about strapping on a helmet, you need to pick the right size. A bike helmet size guide can help you with this.
Measuring Your Head
- Get a measuring tape: A flexible measuring tape is best.
- Measure the circumference: Place the tape around your head, about one inch above your eyebrows and ears. This is where the helmet will sit.
- Note the measurement: Read the measurement in centimeters or inches.
Using a Bike Helmet Size Guide
Most bike helmet manufacturers provide a size chart based on head circumference. Here’s a general guide:
| Head Circumference (cm) | Head Circumference (in) | Helmet Size |
|---|---|---|
| 48-52 | 18.9-20.5 | Extra Small |
| 52-56 | 20.5-22.0 | Small |
| 56-59 | 22.0-23.2 | Medium |
| 59-62 | 23.2-24.4 | Large |
| 62-65 | 24.4-25.6 | Extra Large |
Note: These are general guidelines. Always refer to the manufacturer’s specific bike helmet size guide for the most accurate fit.
Trying on Helmets
- Go to a bike shop: Try on different helmets from different brands. Sizes can vary.
- Wear your cycling cap (if you use one): This will ensure the helmet fits properly with your usual riding gear.
Step-by-Step Helmet Wearing Instructions
Once you have the right size, follow these steps to ensure a proper helmet fit.
Step 1: Initial Fit
- Place the helmet on your head: The front of the helmet should sit one inch (about two fingers) above your eyebrows.
- Check the coverage: Make sure the helmet covers your forehead and the back of your head.
Step 2: Adjusting the Internal Fit System
Most helmets have an internal fit system (a dial or ratchet at the back) to fine-tune the fit.
- Tighten the fit system: Turn the dial clockwise to tighten the helmet until it feels snug.
- Check for movement: The helmet should not move easily from side to side or front to back. If it does, tighten the fit system further.
- Loosen if too tight: If the helmet feels too tight or causes pressure points, loosen the fit system by turning the dial counterclockwise.
Step 3: Adjusting the Helmet Straps
The straps are crucial for securing the bike helmet. Correctly adjusting helmet straps is very important for bike helmet safety.
- Side Straps (Y-Straps):
- Positioning: The Y-straps should form a “Y” around your ears. The point where the straps meet should be just below your earlobe.
- Adjustment: Adjust the sliders on the straps to achieve this position. The straps should lie flat against your face.
- Chin Strap:
- Buckle: Buckle the chin strap.
- Tightness: Tighten the chin strap until you can fit only one or two fingers between the strap and your chin.
- Mouth Test: Open your mouth wide. The helmet should pull down slightly. If it doesn’t, tighten the chin strap. If it chokes you, loosen it a bit.
Step 4: Checking Helmet Tightness
- Push Test: With the helmet buckled, try to push the helmet from side to side and front to back. If the skin on your forehead moves with the helmet, the fit is good. If the helmet slides independently, you need to tighten the fit system or adjust the straps.
- Visual Inspection: Look in a mirror to ensure the helmet sits level on your head and the straps are properly positioned.
Correct Helmet Position
Correct helmet position is key to optimal protection. A helmet that sits too far back or is tilted at the wrong helmet angle won’t protect you properly in a crash.
- Level Position: The helmet should sit level on your head, not tilted forward or backward.
- Forehead Coverage: The front edge of the helmet should be one inch above your eyebrows. This ensures your forehead is protected.
- Back of Head Coverage: The helmet should cover the back of your head, down to the base of your skull.
Important Helmet Safety Tips
Beyond bike helmet fitting, following these helmet safety tips will further enhance your safety:
- Always Wear a Helmet: Wear a helmet every time you ride, no matter how short the trip.
- Inspect Your Helmet: Check your helmet regularly for cracks, dents, or damage. Even a small crack can weaken the helmet’s protective ability.
- Replace After Impact: Even if your helmet looks fine after a crash, it’s essential to replace it. The foam inside can be compressed, reducing its ability to absorb impact.
- Replace Regularly: Helmet manufacturers recommend replacing your helmet every 3-5 years, even if it hasn’t been involved in a crash. The materials can degrade over time.
- Use Certified Helmets: Look for helmets that meet safety standards such as CPSC (Consumer Product Safety Commission) in the US or EN 1078 in Europe.
- Avoid Using Second-Hand Helmets: You don’t know the history of a used helmet. It might have been damaged in a previous crash, even if it looks fine.
- Don’t Modify Your Helmet: Do not drill holes, add stickers, or modify your helmet in any way. This can compromise its structural integrity.
- Store Your Helmet Properly: Store your helmet in a cool, dry place, away from direct sunlight and extreme temperatures.
- Educate Others: Encourage your friends and family to wear helmets and follow safety guidelines.
Bike Helmet Maintenance
Taking care of your helmet will prolong its lifespan and ensure it continues to protect you.
- Cleaning: Clean your helmet with mild soap and water. Avoid using harsh chemicals or solvents, which can damage the helmet’s materials.
- Padding: Remove the padding inside the helmet and wash it separately. Allow it to air dry.
- Straps: Check the straps regularly for wear and tear. Replace them if they are frayed or damaged.
- Storage: When not in use, store your helmet in a helmet bag or a cool, dry place. Avoid leaving it in direct sunlight or in a hot car, which can damage the foam.
Securing Your Bike Helmet For Different Situations
The level of securing your bike helmet can vary a bit based on the type of riding you’re doing.
- Commuting: For everyday commuting, ensure the helmet is snug and secure. The chin strap should be adjusted so you can fit one or two fingers between the strap and your chin.
- Mountain Biking: Mountain biking often involves rough terrain and higher speeds. A more secure fit is crucial. Double-check the internal fit system and chin strap before each ride. Consider a helmet with extended coverage at the back of the head.
- Road Cycling: Road cycling helmets are often lighter and more aerodynamic. Ensure the helmet is properly positioned and the straps are adjusted to prevent it from shifting at high speeds.
- Kids: Children’s helmets should be fitted carefully, as they may not be able to adjust the straps themselves. Check the fit regularly, as kids grow quickly.
Troubleshooting Common Helmet Fit Issues
Even with careful adjustment, you might encounter some common helmet fit issues. Here’s how to troubleshoot them:
- Helmet Slides Back: This usually means the front of the helmet is too high. Lower the front of the helmet by adjusting the internal fit system or using thicker padding at the front.
- Helmet Slides Forward: This usually means the back of the helmet is too high. Lower the back of the helmet by adjusting the internal fit system or using thicker padding at the back.
- Straps Dig Into Your Skin: The straps might be too tight or the sliders are not positioned correctly. Adjust the sliders to create a “Y” shape around your ears and loosen the chin strap slightly.
- Helmet Feels Too Hot: Choose a helmet with good ventilation. Look for helmets with large vents that allow air to flow through.
- Pressure Points: If you experience pressure points, try adjusting the internal fit system or using thinner padding in the affected area. If the problem persists, try a different helmet model.
The Future of Bike Helmet Safety
Bike helmet technology is constantly evolving. Here are some emerging trends:
- MIPS (Multi-directional Impact Protection System): MIPS is a slip-plane technology inside the helmet that reduces rotational forces in a crash.
- Integrated Sensors: Some helmets now include integrated sensors that can detect impacts and alert emergency services.
- Aerodynamic Designs: Road cycling helmets are becoming increasingly aerodynamic to improve performance.
- Smart Helmets: Smart helmets may include features such as Bluetooth connectivity, built-in lights, and GPS tracking.
- Foldable Helmets: Foldable helmets are becoming more popular for urban cyclists who need to carry their helmets easily.
Fathoming Bike Helmet Standards
Different countries and regions have their own safety standards for bike helmets. Some common standards include:
- CPSC (Consumer Product Safety Commission): US standard for bike helmets.
- EN 1078: European standard for bike helmets.
- AS/NZS 2063: Australian and New Zealand standard for bike helmets.
When purchasing a helmet, make sure it meets the safety standards for your region.
Bike Helmet Fitting for Different Head Shapes
Not all heads are created equal! Some people have rounder heads, while others have more oval-shaped heads. Here’s how to find a helmet that fits your head shape:
- Round Heads: Look for helmets with a rounder internal shape. Some brands specialize in helmets for round heads.
- Oval Heads: Look for helmets with a more oval internal shape. You may need to try on several different models to find the right fit.
- Adjustable Fit Systems: Helmets with adjustable fit systems can often accommodate a wider range of head shapes.
Frequently Asked Questions (FAQ)
- What is the best bike helmet? The best bike helmet is one that fits properly, meets safety standards, and is comfortable to wear. There isn’t one single “best” helmet for everyone.
- Can I wear a hat under my bike helmet? Yes, you can wear a thin hat or cycling cap under your helmet, but make sure it doesn’t affect the fit of the helmet.
- How often should I replace my bike helmet? You should replace your helmet every 3-5 years, or after any impact.
- Who is responsible for ensuring my child’s helmet fits properly? Parents or guardians are responsible for ensuring their child’s helmet fits properly and is worn correctly.
- What happens if my helmet is too loose? A loose helmet won’t protect you properly in a crash. Adjust the fit system and straps to ensure a snug fit.
- What are MIPS helmets? MIPS (Multi-directional Impact Protection System) helmets have a slip-plane technology that reduces rotational forces in a crash.
- Are more expensive helmets safer? Not necessarily. More expensive helmets may have additional features or be lighter, but as long as a helmet meets safety standards and fits properly, it will provide adequate protection.
- Is it okay to use a skateboard helmet for biking? Skateboard helmets typically offer more coverage at the back of the head but may not have the same ventilation as bike helmets. If the skateboard helmet meets the relevant safety standards (like CPSC in the US), it can be used, but a dedicated bike helmet is generally preferable.
By following these guidelines, you can ensure your bike helmet fits properly and provides the best possible protection every time you ride.

Hi, I’m Hector Quintanilla, the creator of helmetslab.com.. As a passionate enthusiast and experienced expert in helmets, I’ve dedicated this platform to sharing my insights, knowledge, and hands-on experiences. Whether you’re seeking the best helmet for safety, comfort, or performance, my goal is to guide you with detailed reviews, tips, and advice. Ride safe, and let’s explore the world of helmets together!