Whether it’s buying a new helmet, after a crash, or just changing an old helmet after years of service, every motorcyclist should know how to inspect their helmet. After all, the helmet is the most important safety equipment for them.
No motorcyclist will willingly use a damaged helmet but regular usage causes the helmet to accumulate damage over time. This poses a risk to the user’s well-being if they do not know how to check for damage.
It is suggested to replace your helmet every time you hit your head while wearing it and at least every five years if you go crash-free. Realistically the riders can’t replace their helmets that often because helmets, after all, are expensive.
So, whether your helmet is brand new or in service for years, this guide will teach you how to properly inspect it.

Quick Inspection
It is always a good habit to check your helmet for damage every day before and after usage. The main parts you should check are the,
- Exterior
- Visor
- Interior
- Balance
Exterior
Check the exterior for large scratches or cracks that might have been caused by storage conditions, change in the environment, or rubbing against a rough surface.
Small scratches that can be removed by a good polish are nothing to be worried about.
If you notice any large cracks or splitting in the shell then the helmet has sustained a significant amount of damage and needs to be replaced as soon as possible.
Visor
The visor provided vision to the user while protecting their eyes from wind and dust.
Inspect the visor for a large number of micro-scratches that might obscure your vision while driving which might result in an accident.
Check the screws for the visor and make sure they are secure enough to support the mechanism.
Interior
If you don’t know when your helmet was manufactured it is a good idea to check the label applied to the EPS liner of the helmet.
It is important to know the date of manufacture as it gives you a good estimate of when you need to replace the helmet.
Check the EPS liner for lumps and loose threads by gently rubbing the palm of your hand.
Balance
Put on the helmet and tilt your head a little to the left and right a couple of times to check the balance and the feel of the helmet.
If the helmet feels wobbly even after firmly securing the chinstrap, then the helmet might have accumulated internal damage.
In Dept Analysis
To do a thorough analysis of the damage sustained by your helmet you need to check the following:
- The Shell of the helmet
- The visor
- The EPS liner
- Chinstrap
The Shell of the Helmet
It is the most important part of the helmet as it surrounds the user’s head.
The shell sustains damage over time from the constant change in weather and being exposed to harsh conditions and friction.
Check the top of the shell for decolorization and large scratches.
Then examine the exterior for large cracks and splitting. If the cracks aren’t removable by polishing then the helmet needs to be replaced.
Remove the EPS liner and check the shell from the inside for spider-web cracks and decolorization.
If all checks out, the helmet is good to go.
The Visor
Put the helmet on and looks through the visor into a light source. This will allow you to see all the different micro-scratches on the visor.
Make sure there isn’t a large number of scratches on the visor that could obscure your vision.
Check the weather seals around the eye-port for dents and tears.
The EPS liner
Remove the EPS liner from the inside and examine it closely for compressions at different areas.
Use your thumb to press on the liner to check its response and flexibility.
Check the back part of the liner for dents and spider-web cracks. If any dents are found, check the response of those parts again with your thumb
Chinstrap
Inspect the webbing of the chinstraps by gliding your thumb along with it.
Check to make sure the D-rings are firm and can keep the chinstrap tightly in place.
Put the helmet on, fasten the chinstrap and move your head around to see if the strap remains firm or not.
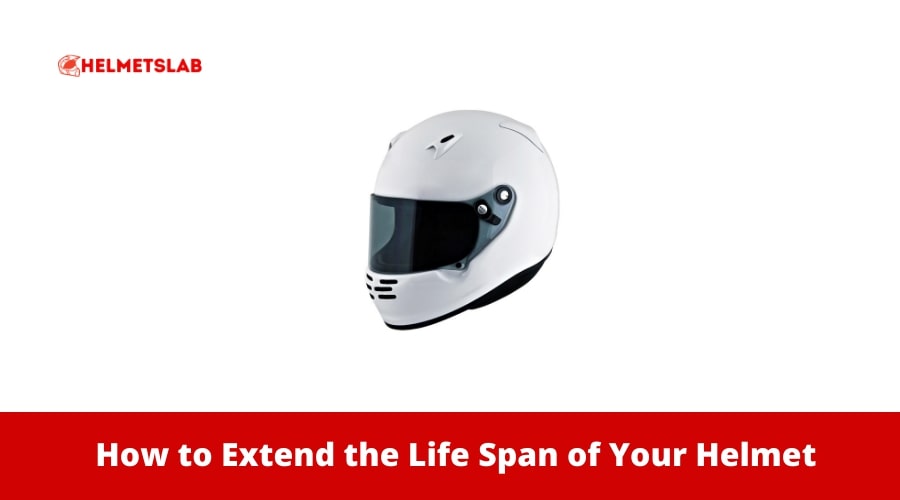
How to Extend the Life Span of Your Helmet

The life span of your helmet can be significantly improved by maintaining proper storage conditions.
- Make sure the helmet is kept at room temperature away from any radiators or heaters that might be present in the garage.
- Keep the helmet above ground level preferably suspended from the wall to prevent unintentional contact with the helmet while working in a garage.
- Make sure the helmet is kept away from any chemicals as contact with different chemicals can damage the integrity of your helmet.
- Try to keep the helmet indoors. Even though helmets are built to resist weather, constant exposer to changing climate can damage the outer shell of your helmet in the long run.
It is also advised to never buy a second-hand helmet as you cannot be sure whether the previous user has been through an accident with the helmet or not.
Related article:
- What Are Bluetooth Motorcycle Helmets
- Modular Versus Full-Face Helmet
- How Long Do Motorcycle Helmets Last
- Motorcycle Gearbox Problems
- How to Connect BILT Bluetooth Helmet
How to Inspect Your Motorcycle Helmet
Conclusion
Every rider should be able to analyze and diagnose the condition of their helmet. Even though the steps mentioned in this article helps do this analysis, it is always a good idea to seek experts’ advice when it comes to the usability of any safety devices.
Some manufacturers offer maintenance checks for helmets and will send a certificate of confirmation stating whether the helmet is useable or not. It is suggested to get your helmet checked by an expert if you are ever in doubt.
Helmetslab is a website that focuses on providing in-depth reviews and information about different types of helmets, including motorcycle helmets and others helmets. I am writing a post with proper research on the info that helps helmet users.

